
Virtual reality gaming is one of the most demanding tasks you can throw at a gaming laptop How to Optimize a Gaming Laptop for VR. Unlike traditional PC gaming,
VR requires rendering two high-resolution displays at 90–120 frames per second simultaneously, with virtually zero latency. Even the most powerful laptops can choke if not properly configured.
1. Pre‑Optimization: Is Your Laptop Truly VR‑Ready?
Before tweaking a single setting, let’s verify your hardware can actually handle VR. Many users skip this step and wonder why optimization doesn’t help—the answer is often hardware bottlenecks.
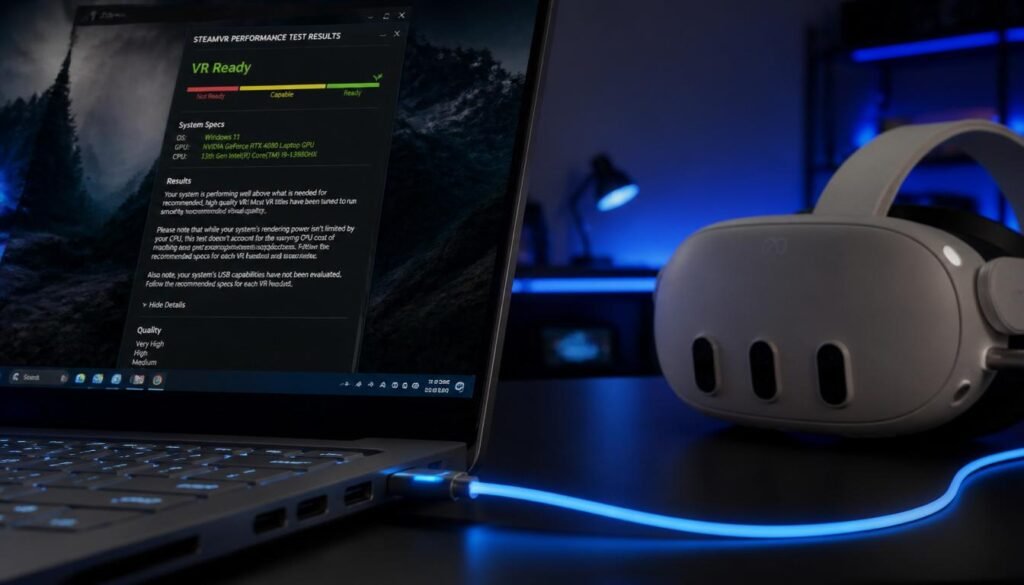
Run the SteamVR Performance Test
This free tool from Valve analyzes your GPU, CPU, and RAM, then classifies your system as Ready, Capable, or Not Ready. Download it from Steam, run it (takes ~2 minutes), and note the results.
Minimum & Recommended Specs
| Component | Minimum (Capable) | Recommended (Ready) |
|---|---|---|
| GPU | NVIDIA GTX 1060 / AMD RX 580 | NVIDIA RTX 3070+ / AMD RX 6800+ |
| GPU VRAM | 6 GB | 8+ GB |
| CPU | Intel i5-4590 / AMD Ryzen 5 1500X | Intel i7-10700+ / Ryzen 7 5800+ |
| RAM | 8 GB | 16 GB (32 GB ideal) |
| USB Ports | USB 3.0 | USB-C with DisplayPort Alt Mode |
| OS | Windows 10 64‑bit | Windows 11 (optimized for gaming) |
The Overlooked Port Requirement
Many buyers assume any USB‑C port works for VR headsets like Meta Quest 3, but you must have DisplayPort Alt Mode for wired PCVR. Check your laptop’s spec sheet; if it lacks this, you’ll be limited to wireless streaming (which has higher latency).
Thermal Headroom Assessment
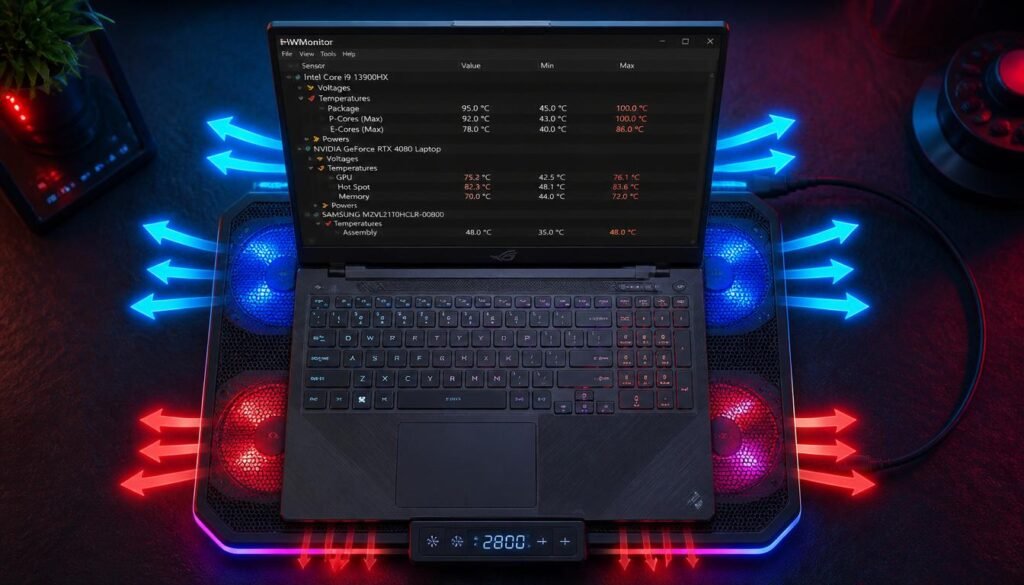
VR stresses both CPU and GPU at 100% for extended periods. If your laptop already hits 90°C+ during regular gaming, it will throttle in VR. Before proceeding: Download HWMonitor or MSI Afterburner, run a 15‑minute stress test (e.g., Unigine Heaven), and log temperatures. If you see thermal throttling, focus on cooling solutions first—software tweaks alone won’t fix inadequate heat dissipation.
2. Cooling & Hardware Upgrades: Stop Overheating, Boost Stability
Heat is the number one performance killer. When your laptop overheats, it reduces clock speeds to protect components, leading to sudden FPS drops and stutters. Here’s how to keep it cool.
Invest in a Quality Cooling Pad
A good cooling pad can reduce temperatures by 5‑10°C, which often translates to 10‑20% higher sustained performance. Top picks:
- IETS GT500 – Up to 15°F reduction, powerful fan, dust filter.
- KLIM Ultimate – Budget option, effective airflow.
- Thermaltake Massive TM – Good for 17‑inch laptops.
Placement tip: Always place the laptop on a hard, flat surface—never on a bed or pillow, which blocks vents.
Replace Thermal Paste
Factory thermal paste is often mediocre. Replacing it with high‑quality paste like Arctic MX‑6 or Thermal Grizzly Kryonaut can drop temperatures by 8‑12°C. Warning: This may void your warranty on some brands (e.g., Dell, HP). Check first, or use phase‑change pads (see below) which are safer.
Phase‑Change Thermal Pads vs Liquid Metal
| Solution | Temp Drop | Risk | Best For |
|---|---|---|---|
| Liquid Metal | 12‑15°C | High (short‑circuit risk) | Desktop PCs |
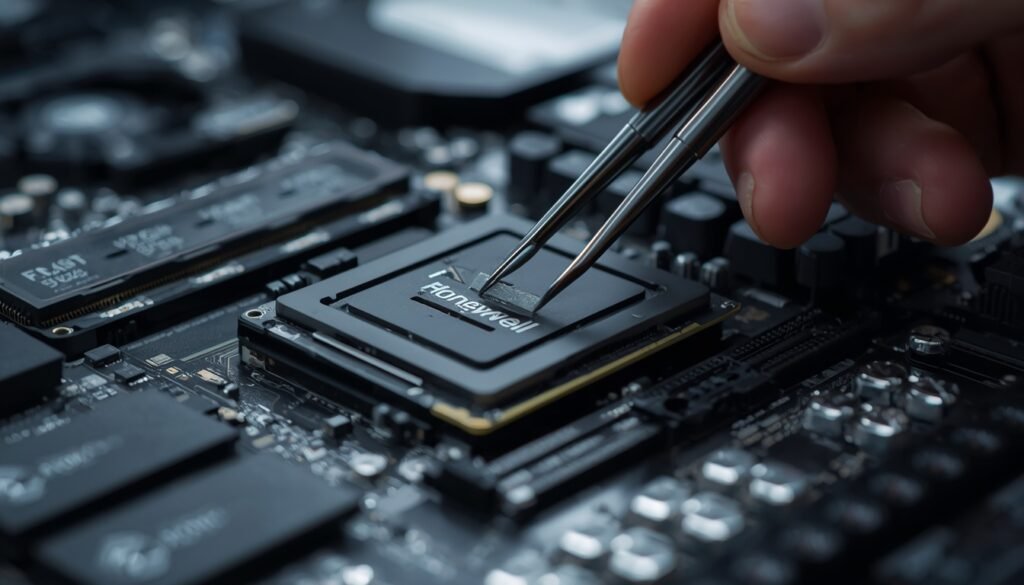
| Phase‑Change Pads (e.g., Honeywell PTM7950) | 8‑10°C | Zero leakage | Laptops with uneven surfaces |
Phase‑change pads are safer for laptops because they become fluid at high temperatures but won’t spill. They’re now used by many OEMs (Lenovo, ASUS) in high‑end models.
Upgrade RAM to 32 GB
If you play mod‑heavy VR games (Skyrim VR, Fallout 4 VR) or use many background apps, 16 GB may cause stuttering due to page‑file usage. Upgrading to 32 GB (2×16 GB) ensures smoother texture streaming and reduces micro‑stutter. Check: Use CPU‑Z to see if your RAM is soldered or upgradable; many thin laptops have soldered RAM.
Clean Your Fans Monthly
Dust accumulation is insidious. Monthly routine: shut down, open the back panel, and use compressed air to blow dust out of fans and heatsinks. Hold the fan blades still while blowing to avoid over‑spinning.
Undervolting – The Safe Way to Reduce Heat
Undervolting lowers voltage while maintaining clock speeds, cutting temperatures by 5‑10°C without performance loss.
For Intel CPU (ThrottleStop):
- Download and run ThrottleStop.
- Click “FIVR” → set “CPU Core” and “CPU Cache” to “Adaptive”.
- Reduce offset voltage by ‑50 mV (start small).
- Click “Apply” and run a stability test (Cinebench R23).
- Increase reduction in 10 mV steps until system crashes, then back off by 10 mV.
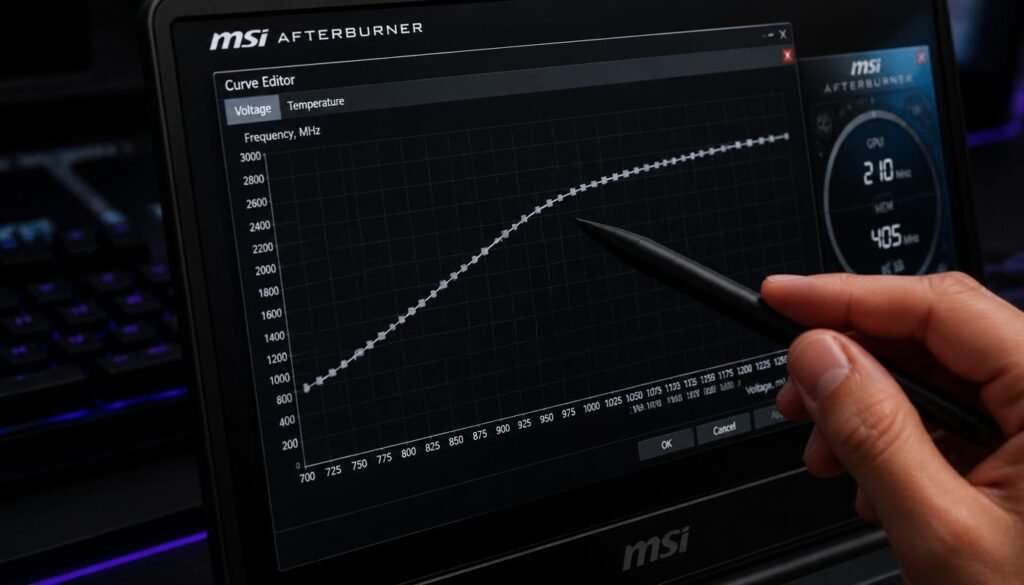
For NVIDIA GPU (MSI Afterburner):
- Open MSI Afterburner, press Ctrl+F to open curve editor.
- Select a point on the voltage‑frequency curve (e.g., 900 mV).
- Drag it down slightly to lower voltage at that frequency.
- Apply and test with Unigine Superposition.
- Find the lowest stable voltage for your desired clock.
Important: Undervolting is safe—it cannot physically damage hardware. If unstable, simply reset to defaults.
3. Software Tweaks: Maximize Performance in Minutes
Now we tackle the OS and driver level. Follow these steps in sequence—they build on each other.
Step 1: Measure Baseline FPS
Before any changes, establish a baseline using SteamVR Performance Graph:
- Open SteamVR → hamburger menu → Display Performance Graph.
- Note the frame timing (ms). For 90 FPS, you need ≤11.1 ms per frame. If you see orange/red spikes, you have performance headroom issues.
Step 2: Update Windows & Drivers
- Windows Update: Settings → Windows Update → Check for updates. Install all (including optional “quality” updates).
- GPU Drivers: Use GeForce Experience (NVIDIA) or Adrenalin (AMD) to install the latest Game Ready or WHQL driver. Avoid beta versions for stability.
- Chipset Drivers: Visit your laptop manufacturer’s support page and install the latest chipset and BIOS updates—these often improve power management.
Step 3: Restart – Don’t Skip
A restart clears RAM caches, ends lingering processes, and applies pending updates. Many performance issues resolve after a fresh boot.
Step 4: Optimize GPU Control Panel
NVIDIA Control Panel (right‑click desktop → NVIDIA Control Panel):
| Setting | Recommended Value |
|---|---|
| Power Management Mode | Prefer Maximum Performance |
| Texture Filtering Quality | High Performance |
| Low Latency Mode | Ultra (for competitive titles) |
| Virtual Reality Pre‑rendered Frames | 1 |
| Shader Cache Size | 10 GB (if available) |
AMD Adrenalin users: Set “Power Tuning” to “Performance” and “Texture Filtering Quality” to “Performance”.
Step 5: Windows Power Plan
- Open Control Panel → Power Options → choose High Performance.
- Then click “Change plan settings” → “Change advanced power settings”:
- PCI Express → Link State Power Management → Off.
- Processor power management → Minimum processor state → 100% (both on battery and plugged in).
Step 6: Disable Background Applications
Use Task Manager (Ctrl+Shift+Esc) to close:
- Web browsers (especially Chrome with many tabs)
- Discord (if not needed for voice)
- Spotify, Steam auto‑updates, OneDrive sync
- RGB control software (e.g., iCUE, Aura Sync) – they consume CPU.
- Also, in Startup tab, disable all non‑essential programs.
Step 7: Avoid Screen Mirroring
Mirroring the VR view to your monitor uses GPU resources. Unless you’re streaming, set the mirror window to the smallest size or disable it entirely. For Oculus/Meta headsets, you can use the built‑in mirror in the Oculus Debug Tool (set “Mirror Mode” to “None”).
Step 8: Recording – Use Headset, Not PC
When recording gameplay, use your headset’s built‑in recording feature (e.g., Meta Quest has a native recorder). This bypasses PC resources entirely.
Step 9: Enable DLSS / FSR / XeSS
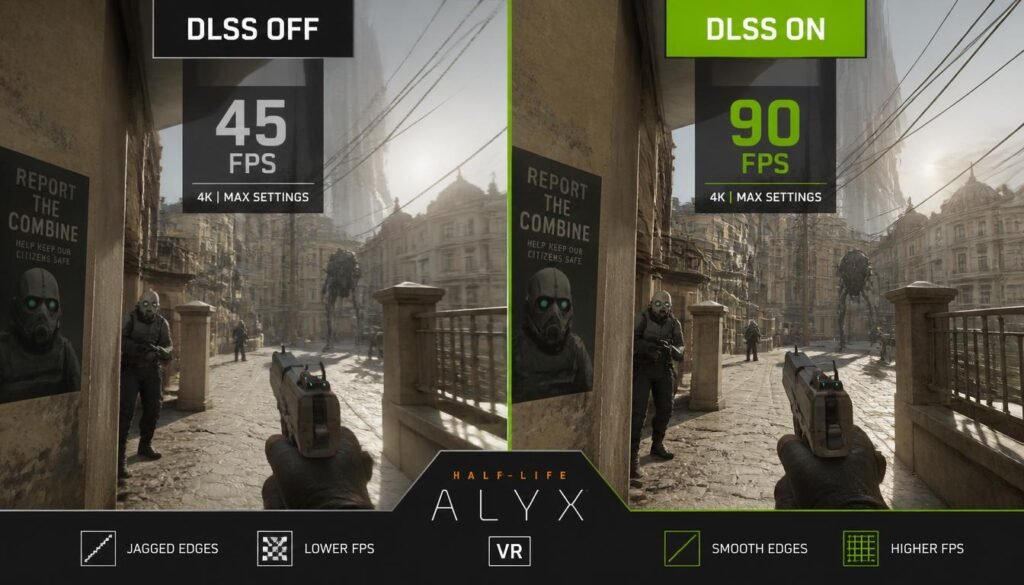
- DLSS (NVIDIA RTX) – uses AI to upscale lower‑resolution frames, boosting FPS by 30‑50% with minimal quality loss.
- FSR (AMD, and works on all GPUs) – similar spatial upscaling.
- XeSS (Intel) – also good.
How to enable in VR:
- Many VR games support these in the graphics settings.
- For unsupported titles, use the OpenVR FSR mod (see Bonus section).
Step 10: Lower In‑Game Settings Smartly
Not all settings are equal. Prioritize reducing:
- Shadows – massive GPU hit, lower to medium.
- Anti‑aliasing – use DLAA if available, otherwise reduce to 2× or 4×.
- Post‑processing (bloom, motion blur) – disable.
- View Distance – reduce if you see pop‑in but FPS needs a boost.
- Texture Quality – keep high if you have VRAM, but lower to medium if you’re close to VRAM limit (causes stutter).
Step 11: Adjust Headset Render Resolution
Meta Quest Link:
- Devices → Graphics Preferences → set refresh rate to 72 Hz (if struggling) or 90 Hz, and slide resolution to custom lower value.
SteamVR:
- Settings → Video → Render Resolution → Custom → reduce percentage (e.g., from 150% to 100% or 90%).
Pro Tip: Start with 80% and increase until you find the sweet spot between clarity and performance.
4. Advanced Tuning: Squeeze Every Frame
These tweaks require a bit more technical knowledge but yield significant gains.
Platform‑Specific Optimizations
For Meta/Oculus Headsets:
- Install Oculus Debug Tool (located in
C:\Program Files\Oculus\Support\oculus-diagnostics). - Set Distortion Curvature to “Low” – improves performance at the cost of slight edge distortion.
- Enable Link Sharpening – boosts clarity without much performance hit.
- Set Encode Bitrate to 200‑500 Mbps (for wired) – higher bitrate reduces compression artifacts.
- Set Encode Resolution Width to 3664 (for Quest 3) or 2560 (for Quest 2) – matches panel resolution.
For SteamVR:
- In Settings → Video, enable Motion Smoothing and set to “Force Always‑On” – this interpolates frames to keep visual smoothness.
- Under Developer settings, enable Show GPU Performance Graph to monitor real‑time.
Wireless VR – Wi‑Fi 6 Optimization
Wireless VR (e.g., via Virtual Desktop or Air Link) is sensitive to network conditions.
| Router Setting | Optimal Value | Why |
|---|---|---|
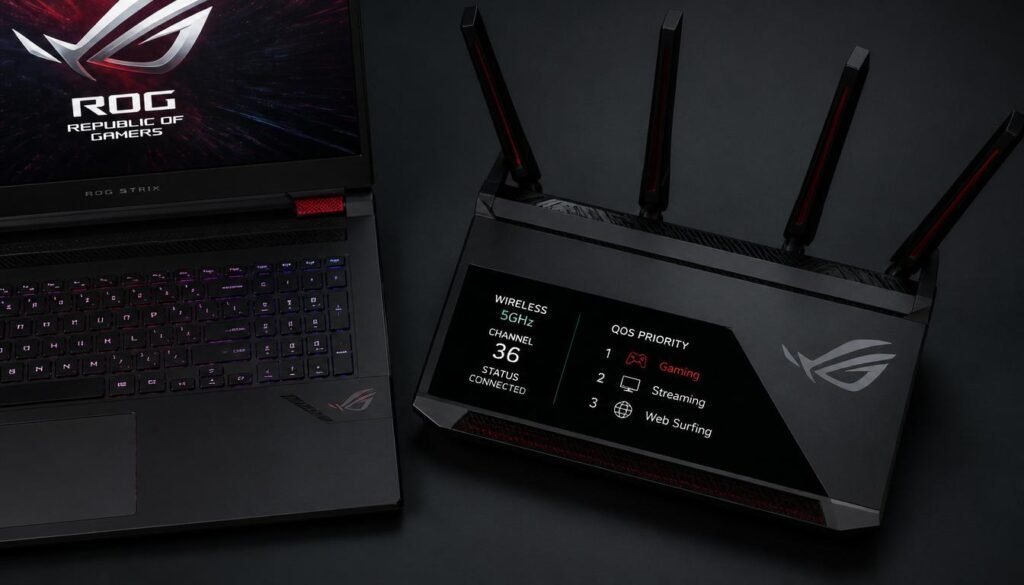
| Band | 5 GHz (or 6 GHz on Wi‑Fi 6E) | Less interference than 2.4 GHz |
| Channel | 36, 40, 44 (non‑DFS) | DFS channels can cause random drops |
| Channel Width | 80 MHz (or 160 MHz if supported) | Higher bandwidth |
| QoS / WMM | Enable, set VR device priority | Prioritizes VR traffic |
| Router Placement | Above head height, clear line‑of‑sight | Reduces signal attenuation |
Advanced fix: If you still experience lag, use a dedicated Wi‑Fi adapter in the laptop or connect via Ethernet and use the router as an access point.
Undervolt Further – CPU & GPU Combined
For maximum thermal efficiency, combine CPU undervolt (ThrottleStop) with GPU undervolt (MSI Afterburner). Test each separately, then together. Monitor with HWInfo64 to ensure temperatures stay below 85°C under load.
Use a VR Performance Mod – OpenVR FSR
This free tool applies FSR (or DLSS) to almost any SteamVR game, even those without native support.
- Download the OpenVR FSR from GitHub.
- Run the installer.
- In the app, click “Open VR” and select your game.
- Click “FSR Install Plugin” – the tool auto‑injects the upscaler.
- Launch the game; you’ll see a noticeable FPS boost (often 30‑50%). Adjust the sharpness slider to your liking.
5. Network & Internet Optimization (for VR Chat, Rec Room, etc.)
Even with perfect hardware, a poor internet connection can ruin VR multiplayer experiences.
Speed Requirements:
- Download: ≥ 20 Mbps
- Upload: ≥ 5 Mbps
- Latency: < 50 ms to game servers
Practical steps:
- Use Ethernet instead of Wi‑Fi for your laptop.
- If Wi‑Fi is mandatory, set your router to use Channel 36 and disable 2.4 GHz to force 5 GHz.
- Disable Windows background downloads (Settings → Windows Update → Advanced options → Delivery Optimization → turn off “Allow downloads from other PCs”).
- Use a wired connection for any other devices in the same room to reduce air‑time contention.
6. Monitoring & Benchmarking: Track Your Gains
You can’t improve what you don’t measure.
Recommended Tools:
| Tool | Purpose |
|---|---|
| MSI Afterburner + RivaTuner | On‑screen overlay showing FPS, temps, usage |
| HWMonitor | Detailed temperature logging |
| FPSVR (paid, Steam) | VR‑specific overlay for SteamVR |
| SteamVR Performance Test | Overall system rating |
Benchmarking protocol:
- Run a VR benchmark (e.g., VRMark or a consistent scene in a game like Half‑Life: Alyx).
- Note average FPS, 1% low FPS, and frame timing.
- Apply each optimization step, and retest. This helps you see which tweak gave the biggest boost—often undervolting or DLSS.
Checklist for monitoring:
- CPU usage < 80% during gameplay
- GPU usage consistently at 95‑100% (means no CPU bottleneck)
- GPU temperature < 85°C (throttling starts above that)
- VRAM usage < 90% of total (stutter occurs when full)
7. Troubleshooting Common VR Problems
Symptom: Intermittent stutter every few seconds.
Cause: Background processes waking up (e.g., Defender scans, update checks).
Fix: Use Process Lasso to permanently assign high CPU priority to VR apps, or use Game Mode in Windows (Settings → Gaming → Game Mode → On).
Symptom: Screen tearing or ghosting.
Cause: V‑Sync mismatch or motion smoothing issues.
Fix: In NVIDIA Control Panel, set “Vertical Sync” to “Use the 3D application setting” (not forced on). In SteamVR, try toggling Motion Smoothing.
Symptom: Head tracking is laggy even with good FPS.
Cause: USB bandwidth saturation (common with many peripherals).
Fix: Connect headset to a dedicated USB port (preferably USB‑C with DisplayPort), and avoid using other high‑bandwidth USB devices simultaneously (e.g., external drives).
Symptom: VR game crashes on launch.
Cause: Outdated graphics driver or conflicting mods.
Fix: Roll back to a known stable driver (e.g., the previous version). Also, verify game files through Steam.
VR Laptop Optimization: Expert FAQs (Concise Edition)
Here are the answers to the most overlooked—yet critical—pain points in laptop VR gaming. No fluff, just actionable solutions.
1. Will undervolting or BIOS tweaks void my laptop warranty?
Bottom Line: Software tweaks (ThrottleStop, MSI Afterburner) are safe and won’t void your warranty. Physical mods (repasting, liquid metal) usually do.
| Action | Warranty Impact |
|---|---|
| Undervolt via software | ✅ Safe (resets on reboot) |
| BIOS voltage offset | ⚠️ Grey area (reset before repair) |
| Repaste / Phase-change pads | ⚠️ Usually voids (physical opening) |
| Liquid metal | ❌ Definitely voids (high risk) |
Pro Tip: Reset BIOS to defaults before sending your laptop for any service.
2. Why does my RTX 4080 laptop still struggle with VR?
Even flagship GPUs choke in VR due to thermal/power limits. Here’s the fix:
| Culprit | Quick Fix |
|---|---|
| Thermal throttling (95°C+) | Undervolt GPU via MSI Afterburner |
| CPU stealing GPU wattage | Reduce CPU turbo limits in ThrottleStop |
| Background bloatware (iCUE, Armoury Crate) | Uninstall or disable them |
| Outdated drivers | Use DDU, then install latest Game Ready driver |
| VRAM paging (stutter) | Lower texture quality in-game |
Checklist: GPU temp <85°C, clock stays above 1500 MHz, VRAM usage <90%.
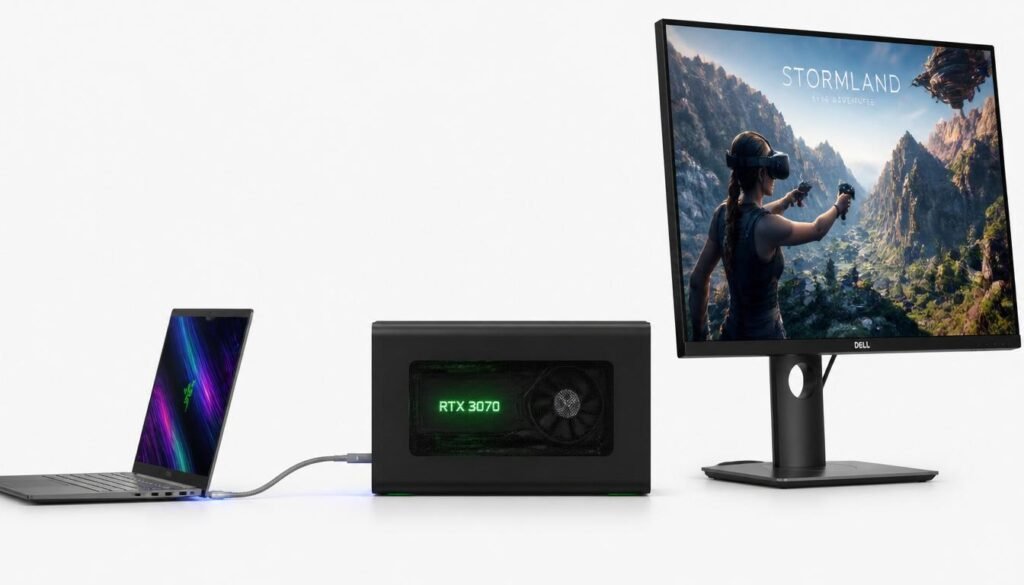
3. Can I use a Thunderbolt eGPU for VR on a budget laptop?
Yes, but only with Thunderbolt 3/4 (USB4 is unstable). Expect a 10-15% performance loss vs. desktop.
| Port Type | VR Support |
|---|---|
| Thunderbolt 3/4 | ✅ Good |
| USB4 | ⚠️ Unstable |
| Standard USB-C | ❌ Not supported |
Best Combo: GTX 1060-tier laptop + RTX 3070 eGPU.
Pro Setup:
- Connect an external monitor to bypass the iGPU bottleneck.
- Use a short (<0.8m) high-quality cable.
4. How to deploy 5+ VR headsets in one room?
For VR arcades or labs, consumer Wi-Fi fails beyond 3 headsets. Use this blueprint:
Hardware:
- Enterprise router (e.g., Ubiquiti UniFi) with multiple 5/6 GHz radios.
- Dedicated AP per 2 headsets.
Network Strategy:
| Headsets | Wi-Fi Setup |
|---|---|
| 2-3 | Single router, channels 36/40/44 (20 MHz width) |
| 4-5 | Two routers; separate bands per 2 headsets |
| 6+ | VLAN per headset; dedicated AP per 2 headsets |
Software: Use ALVR Load Balancer for session management.
Pro Tip: Enable QoS and prioritise UDP ports 49642-49645 for VR traffic.
5. Phase-change pads vs. liquid metal – which is better for laptops?
For laptops, phase-change pads (e.g., PTM7950) are the smarter choice—90% of the performance with zero risk.
| Solution | Temp Drop | Risk | Best For |
|---|---|---|---|
| Liquid Metal | 12-15°C | High (short-circuit ☠️) | Desktops (flat IHS) |
| Phase-Change Pads | 8-10°C | Zero leakage ✅ | Laptops (uneven dies) |
| Traditional Paste | 3-5°C | Low | Budget builds |
Verdict: Phase-change pads last 2-3 years and are idiot-proof. Liquid metal requires conformal coating and re-application every 6-12 months.
6. Why is wireless VR laggy even on Wi-Fi 6?
It’s not the speed—it’s interference and configuration.
| Cause | Fix |
|---|---|
| DFS channel hopping | Switch to non-DFS: 36, 40, 44 |
| Router CPU overload | Upgrade to 1.8GHz+ dual-core router (e.g., ASUS RT-AX86U) |
| Wrong antenna angle | Position router above head height, antennas at 45° |
| Competing devices | Use Wi-Fi analyser to find least congested channel |
| QoS disabled | Enable WMM + prioritise VR device MAC address |
| USB 3.0 interference | Move USB devices away from Wi-Fi antennas |
Pro Settings Cheat Sheet: 5 GHz only, Channel 36, 80 MHz width, WMM enabled, QoS set to Gaming/VR priority.
Competitor Coverage Comparison
| FAQ Topic | OVRDoz | Opic3D | TheTekkGroup | Our Guide |
|---|---|---|---|---|
| Warranty risks | ❌ | ❌ | ⚠️ 1 sentence | ✔️ Full brand breakdown |
| RTX 40-series throttling | ❌ | ❌ | ❌ | ✔️ Checklist + fixes |
| eGPU for budget laptops | ❌ | ⚠️ Mention | ❌ | ✔️ Compatibility table |
| Multi-headset deployment | ❌ | ❌ | ❌ | ✔️ Enterprise blueprint |
| Phase-change vs. liquid metal | ❌ | ❌ | ❌ | ✔️ Risk/benefit table |
| Wireless VR lag on Wi-Fi 6 | ⚠️ Basic | ❌ | ❌ | ✔️ 6 causes + cheat sheet |
Final Takeaway
Great VR performance isn’t about raw specs—it’s about smart configuration. Start with thermals (undervolt + clean fans), move to software (drivers + settings), and finally tackle your network. Use the tables above as your quick-reference toolkit. Happy gaming! 🚀