
Introduction
Few things kill a great stream faster than a sudden stutter. You’re in the middle of an intense clutch, How to Optimize Your Gaming PC for Streaming in 2026 your chat is buzzing, and then—pixelation, dropped frames, and that dreaded lag spike. It’s frustrating, and your viewers feel it too. The good news? You don’t need a $5,000 PC to fix it.
Optimizing your gaming PC for streaming is about balance, not brute force. In this guide, I’ll walk you through the exact steps to eliminate that lag—from tweaking in-game graphics to mastering your encoder settings.
Whether you’re on a budget build or a high-end rig, these proven fixes will transform your stream quality and keep your audience engaged.
Table of Contents
The Hardware Reality Check (Before You Change a Single Setting)
Before you tweak a single setting, let’s get real about your hardware. Streaming demands more than just gaming. Your GPU needs a dedicated encoder, your CPU needs enough cores, and your RAM needs capacity. Without the right foundation, no software trick will save you.
Don’t panic—I’ll help you check your PC specs against clear minimums. Think of this as your streaming readiness assessment. Knowing your limits is the first step toward fixing them, and it might save you hours of frustrating trial and error.
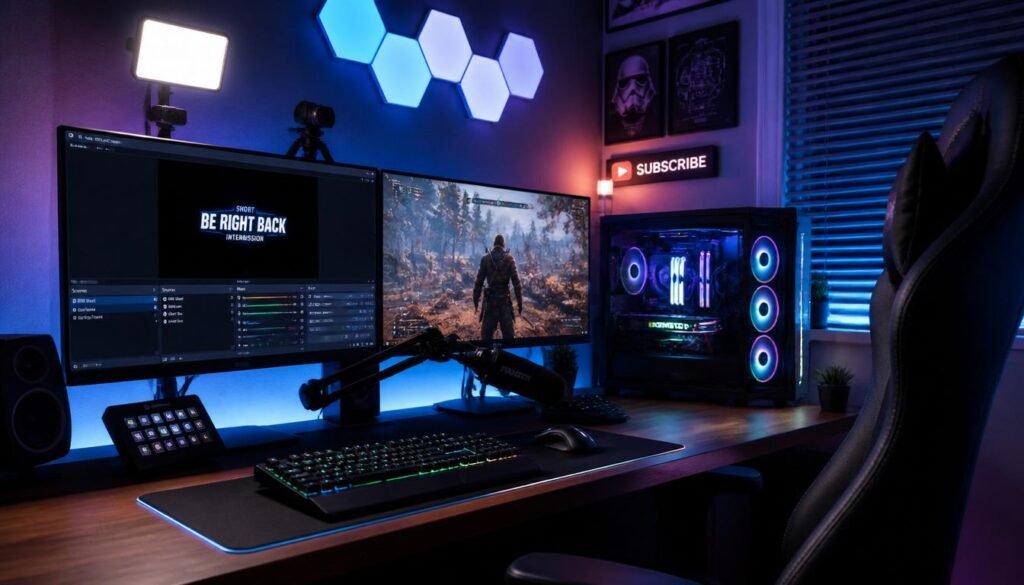
Minimum Specs for a Smooth 1080p/60fps Stream
Let’s cut to the chase. For a smooth 1080p/60fps stream, your GPU needs a dedicated hardware encoder—NVIDIA NVENC or AMD AMF. This offloads the heavy lifting from your CPU.
Speaking of which, aim for a 6-core processor, like an AMD Ryzen 5 or Intel i5. For RAM, 16GB is the bare minimum, but 32GB gives you breathing room for gaming and streaming simultaneously.
Run a quick PC specs check before upgrading anything—you might already be halfway there.
The Storage Myth – What Actually Matters
Let’s bust a myth: an NVMe SSD won’t boost your FPS. But it will crush loading stutters and speed up game launches. For streaming, storage matters most when recording gameplay. Write to a slow drive, and you’ll drop frames instantly.
The sweet spot? A dual-drive setup—NVMe SSD for your OS and games, and a spacious HDD or SATA SSD for recordings.
This keeps your system responsive and your footage smooth. Remember, fast storage won’t make you a better gamer, but it will make your stream look professional.
Cooling Solutions – Don’t Let Heat Throttle Your Stream
Heat is your stream’s silent enemy. When your CPU or GPU gets too hot, they slow down to protect themselves—that’s thermal throttling. Suddenly, your frames drop and your stream stutters. The fix? Monitor your temperatures with tools like MSI Afterburner.
Keep things under 80°C under load. A good air cooler works fine for most, but liquid cooling helps for marathon sessions. Also, tweak your fan curves for better airflow. Sometimes, the best cooling solution is simply cleaning out the dust!
The “Game” Side: In-Game Settings for Maximum GPU Headroom
With your hardware ready, it’s time to tweak the game itself. This is where most streamers waste GPU power. By adjusting your graphics settings, you can free up precious headroom for smooth encoding. Forget Ultra presets—balance is king.
We’ll cover capping framerates to prevent stuttering, enable DLSS or FSR for free performance, and find the sweet spot between quality and stability.
These tweaks give your encoder the breathing room it needs. No upgrade required—just smarter choices for a butter-smooth stream.
Cap Your Framerates – The Single Most Important Rule
Here is the golden rule for streaming: cap your framerates. Leaving your FPS uncapped forces your GPU to run at full speed, leaving zero headroom for your encoder. This causes stuttering and dropped frames instantly. Instead, cap your FPS to your monitor’s refresh rate, or slightly below it.
This reserves GPU power for smooth streaming. You can cap in-game settings, or use tools like NVIDIA Control Panel or AMD Adrenalin. Trust me, this single fix eliminates most streaming lag instantly.
Leverage AI Upscaling Technologies
Want free performance without sacrificing visuals? Enable DLSS, FSR, or XeSS. These AI upscaling technologies render your game at a lower resolution, then smartly upscale it to look crisp and sharp. The result? Higher FPS and more GPU headroom for your encoder—all with minimal visual loss.
It’s like getting a free graphics card upgrade. Most modern games support these features. Just flip the switch in your graphics settings and watch your framerate jump. This is one of the easiest wins for streamers on any budget.
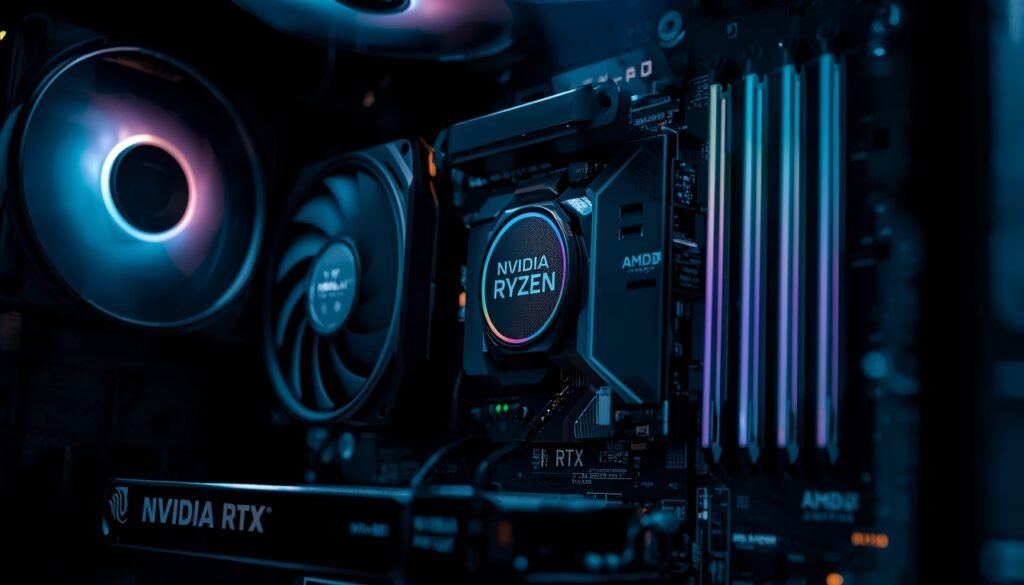
Graphics Presets – Ultra vs. High vs. Medium
Running games on Ultra might look pretty, but it’s a streaming disaster. Those maxed-out settings chew through your GPU, leaving zero headroom for your encoder. The fix? Drop to High or even Medium presets.
The visual difference is barely noticeable, but the performance gain is massive. Focus on lowering shadows, anti-aliasing, and texture quality first—these are the biggest resource hogs.
This simple tweak frees up critical GPU power for smooth streaming without sacrificing the fun. That’s the sweet spot.
The “Stream” Side: Mastering Your Encoder and Streaming Software
Your hardware and game settings are dialed in. Now comes the heart of your stream—the encoder. This is where your gameplay gets compressed and sent to your viewers.
Choose wrong, and your stream looks pixelated or stutters. Choose right, and it looks crystal clear.
We’ll cover the critical debate: NVENC vs. x264, the exact bitrate for your platform, and the hidden OBS settings that separate amateur streams from professional broadcasts. Let’s get your software working as hard as your hardware.
Hardware Encoding vs. Software Encoding (NVENC vs. x264)
Here’s the big question: NVENC or x264? For single-PC streamers, hardware encoding wins every time. NVENC (NVIDIA) or AMF (AMD) uses your GPU’s dedicated encoder, offloading the work from your CPU. x264 relies on your processor, which can tank your game performance.
The quality difference is negligible for most viewers, but the performance gain is massive. Unless you have a secondary streaming PC, choose hardware encoding. It’s the single biggest upgrade you can make.
The Exact Bitrate, Resolution, and FPS Settings
Here’s your cheat sheet for bitrate, resolution, and FPS settings. For 1080p at 60fps, aim for 6,000 to 9,000 Kbps. Twitch caps at 6,000, but YouTube and Kick allow higher. Always keep your bitrate below 70% of your tested upload speed.
For 1080p at 30fps, drop to 4,500–6,000 Kbps. For 720p at 30fps, 2,500–5,000 works perfectly. Match your resolution to your monitor, but never push bitrate beyond your connection’s capacity. These exact settings give you crystal-clear streams without dropped frames.
OBS Advanced Settings That Actually Matter
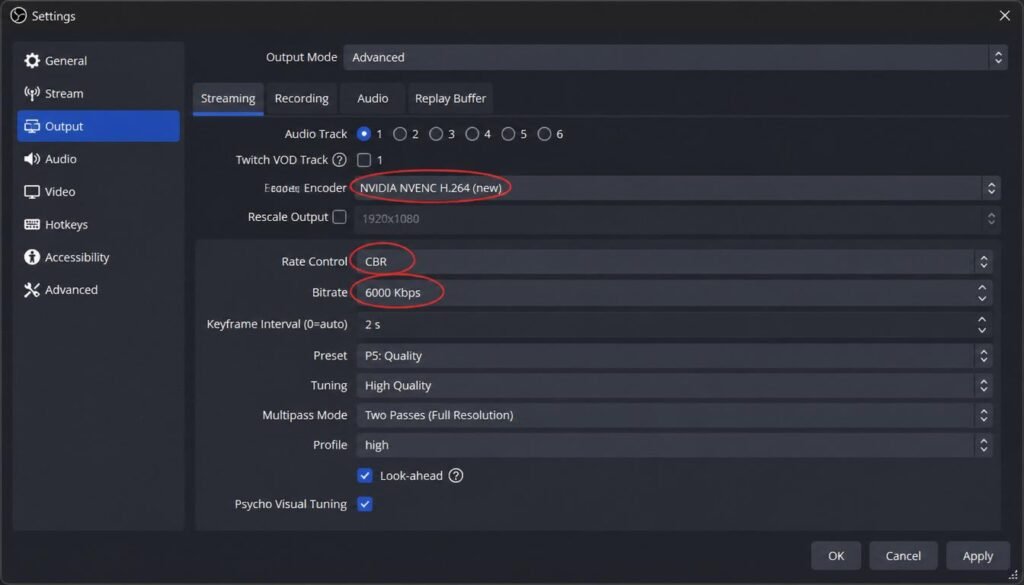
Think of these as your secret weapons. First, set your Rate Control to CBR (Constant Bitrate)—this keeps your stream stable. Next, set your Keyframe Interval to 2 seconds for platform compatibility. Finally, choose your Preset and Tuning options wisely.
For most streamers, “Quality” preset with “High” tuning strikes the perfect balance. These small tweaks dramatically improve encoding efficiency. Don’t overlook them—they’re the difference between a good stream and a great one. Save your settings and test immediately.
Run OBS as Administrator – The Hidden Fix for Stuttering
Here’s a hidden gem most streamers overlook. Running OBS as Administrator gives your streaming software priority access to your GPU. This prevents rendering lag and eliminates those annoying stutters mid-game.
The fix is simple: right-click the OBS icon, select “Run as administrator,” and watch the magic happen. Do this every time you stream. It’s not a myth—it’s a proven Windows trick that instantly improves encoding performance. One click, and your stream runs noticeably smoother.
The Silent Killer: Network Optimization for Streaming
Your hardware and settings are perfect, but your stream still lags? Look at your network. This is the silent killer of stream quality.
A weak connection causes dropped frames, buffering, and pixelation that drives viewers away. The solution isn’t just faster internet—it’s smarter networking.
We’ll cover why Ethernet beats Wi-Fi every time, how to set your bitrate correctly, and the hidden culprit called bufferbloat. Fix your network, and watch your stream stability skyrocket overnight.
Wired vs. Wireless – The Non-Negotiable Choice
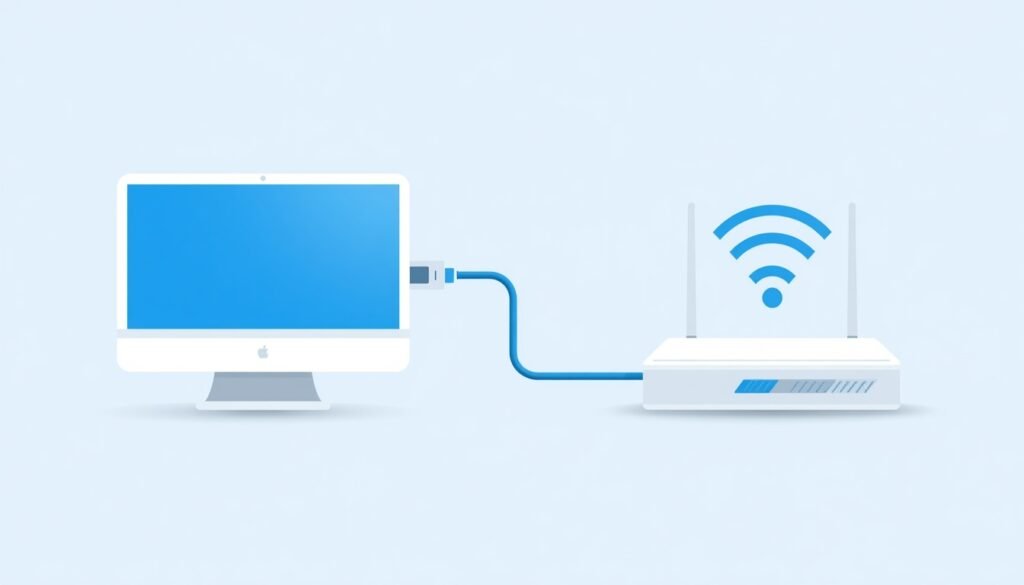
Let’s be blunt: Wi-Fi is for browsing, not broadcasting. For streaming, Ethernet is non-negotiable. Wireless connections suffer from interference, signal drops, and latency spikes that wreck your stream. A simple Ethernet cable gives you stable, consistent speeds and lower ping.
The difference is night and day—smoother gameplay, zero buffering, and viewers who stay. If you can’t run a cable, consider powerline adapters as a backup. But honestly? Do whatever it takes to go wired.
Testing Your Upload Speed and Setting Bitrate Correctly
Before you stream, test your upload speed. Head to Speedtest.net or Fast.com for an accurate reading. Remember, your advertised speed isn’t always your actual speed. Once you have your number, set your bitrate to no more than 70% of that total.
For example, 10 Mbps upload means a 7,000 Kbps bitrate. This buffer prevents buffering and dropped frames. Test at different times of day too—network congestion can drop your speeds significantly.
What is Bufferbloat and How to Fix It
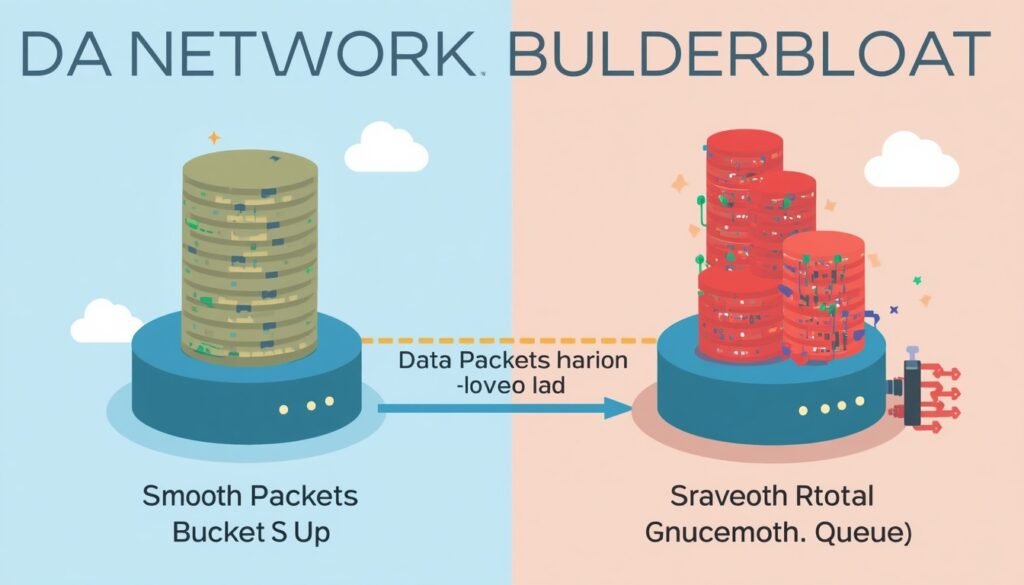
Bufferbloat is a hidden network problem that kills your stream. It happens when your router buffers too much data, causing massive latency spikes. Your gameplay feels fine, but your stream stutters and lags. The fix? Enable QoS (Quality of Service) on your router.
This prioritizes streaming traffic over other devices. Alternatively, use a router with SQM (Smart Queue Management). These tools eliminate bufferbloat instantly. Your stream stays smooth, even when others are gaming or watching Netflix.
Choosing the Right Game Server
Here’s a simple tip that many streamers overlook: choose the closest game server. Most online games let you select your server region manually. Pick the one nearest to you for the lowest ping and smoothest gameplay.
Lower ping means less delay between your actions and the game’s response—critical for fast-paced shooters. This reduces lag spikes and keeps your stream looking responsive. It’s a tiny change that makes a massive difference.
Audio Optimization – The Overlooked Stream Element
Great video means nothing if your audio is a mess. Viewers will tolerate slightly lower quality visuals, but they’ll leave instantly for crackly mic or desynced sound. Audio optimization is often ignored, yet it’s critical for professionalism.
We’ll cover how to clean up background noise using AI tools, fix annoying audio desync issues, and route your sound sources like a pro. Your stream’s audio quality is your secret weapon. Nail this, and your viewers will stay for the experience.
Hardware-Accelerated Audio – Freeing Up CPU Resources
Audio processing used to eat your CPU alive. Hardware-accelerated audio changes that by offloading noise suppression and effects to your GPU’s dedicated cores. This frees up precious CPU resources for your game and encoder.
NVIDIA Broadcast is a prime example—it removes background noise without tanking your performance. The result? Cleaner audio, smoother gameplay, and zero stutter. Enable this feature, and you’ll instantly notice your overall stream truly feels lighter and more responsive. Your viewers will hear the difference immediately.
Noise Suppression Without CPU Overhead
Background noise ruins streams—keyboard clicks, fans, and room echoes distract viewers instantly. But traditional noise suppression eats CPU power. The solution? AI-powered tools like NVIDIA Broadcast or Krisp. These use your GPU’s tensor cores to remove background noise without touching your CPU.
No performance hit, just crystal-clear audio. Enable this feature in OBS or your streaming software. Your viewers will hear only your voice—not your mechanical keyboard. It’s a simple setup that instantly elevates your production quality.
Fixing Audio Desync in OBS
Audio desync ruins your stream—viewers see your mouth move, but the sound lags behind. OBS makes this fix easy.
Navigate to Advanced Audio Properties, and adjust the Sync Offset for your microphone or capture card. Positive values delay audio; negative values advance it. Start with small adjustments until speech matches your webcam perfectly.
This common issue often stems from capture card latency, Bluetooth headphones, or video buffering. A quick offset tweak solves everything. Always test before going live.
Virtual Audio Cable Setup for Advanced Audio Routing
Want professional-level audio control? Virtual Audio Cable lets you route different sound sources independently. Separate your game audio, microphone, Discord chat, and stream alerts into individual channels.
This gives you total control—adjust volumes independently, apply different filters, and prevent audio conflicts. Set it up in OBS by adding separate audio sources for each channel.
Your viewers will hear a clean, balanced mix while you manage everything seamlessly. It’s next-level audio routing that sets serious streamers apart.
Advanced Tweaks (The 5% Edge)
You’ve covered the essentials—hardware, game settings, encoder, network, and audio. Now it’s time for the final polish. These advanced tweaks give you that competitive edge—the extra 5% that separates good streams from great ones.
We’ll cover overclocking for raw performance, undervolting for thermal stability, essential driver updates, and Windows optimizations like Game Mode.
These aren’t for everyone, but if you’re chasing perfection, this section is your playground. Let’s unlock your system’s full potential together.
Windows Game Mode – Enable It
Enable Windows Game Mode for an instant performance boost. This feature prioritizes your gaming and streaming processes, reducing background interruptions. Simply open Settings, navigate to Gaming > Game Mode, and toggle it on.
That’s it. This small tweak allocates more system resources to your active applications—your game and OBS. It’s not a magic fix, but every little bit helps when you’re pushing your system.
Combine this with other optimizations for the best results.
Disabling Game Bar and Game DVR (Windows Bloatware)
Windows Game Bar and Game DVR are resource hogs you don’t need. They record your gameplay in the background, stealing precious GPU and CPU power.
Disable them immediately. Open Settings, navigate to Gaming > Game Bar, and toggle it off. Then, go to Captures and disable background recording.
This frees up system resources for your game and OBS. Your stream will feel snappier, and your framerates will stabilize. It’s a quick win that takes seconds.
Driver Updates – The Weekly Habit
Make driver updates a weekly habit. Outdated GPU drivers cause crashes, stuttering, and poor encoding performance. New updates often include game-specific optimizations and streaming fixes.
Use GeForce Experience for NVIDIA or AMD Adrenalin for Radeon to check automatically. Set a reminder every Monday to update. It takes two minutes but prevents hours of troubleshooting.
Updated drivers keep your system stable, your framerates high, and your stream smooth. Don’t skip this simple maintenance step.
Overclocking vs. Undervolting – Which is Safer for Streaming?
Overclocking boosts performance but generates heat and risks instability. Undervolting reduces heat while maintaining performance—making it safer for marathon streaming sessions. For most streamers, undervolting is the smarter choice.
It lowers temperatures, reduces fan noise, and prevents thermal throttling. Overclocking is better for competitive gamers chasing every frame.
But for streaming, stability matters more than raw speed. Start with undervolting using MSI Afterburner or AMD Adrenalin. Your stream will stay smooth and stable.
Cable Management and Airflow – The Physical Optimization
We’ve covered software, hardware, and network. But what about the physical side? Cable management and airflow directly impact your system’s thermal performance.
Messy cables block airflow, trapping heat inside your case. Poor airflow forces your fans to work harder, increasing noise and reducing component lifespan. A clean, organized build runs cooler and quieter.
This section covers simple cable routing, fan placement, and cooling strategies that keep your PC performing at its best.
Cable Ties and Routing Channels – Unblock Your Airflow
Messy cables are airflow killers. They block your case’s intake and exhaust, trapping hot air inside. The fix? Use cable ties and routing channels to secure cables against the back panel.
Most modern cases have built-in routing holes—use them. Tuck excess cables behind the motherboard tray. This creates a clear path for air to flow from front to back.
Your components run cooler, your fans spin quieter, and your PC looks cleaner. It’s a simple upgrade with real thermal benefits.
Customizing Fan Curves for Thermal Performance
Don’t settle for default fan curves. Customize them for better cooling and quieter operation. Use software like MSI Afterburner or your BIOS to set aggressive curves that ramp up fans as temperatures rise.
This keeps your GPU and CPU cooler under heavy streaming loads.
The trade-off? More fan noise. But thermal stability matters more for long sessions. Start with a moderate curve—slow speeds at idle, full speed above 75°C. Test and adjust until you find the perfect balance.
Liquid Cooling Considerations for Heavy Streamers
Air cooling works for most, but liquid cooling shines during marathon streams. It handles sustained heat better, keeping your CPU and GPU cooler under heavy loads.
This prevents thermal throttling and maintains consistent performance. All-in-one (AIO) coolers are affordable and easy to install. Custom loops offer maximum cooling but cost more and require maintenance.
For serious streamers doing 6+ hour sessions, liquid cooling is a worthy investment. Your stream stays smooth, and your components last longer.
FAQ Section
Got questions? We’ve got answers. This section tackles the most common streaming optimization questions.
We’ll cover whether you can stream and game on one PC, how much RAM you really need, and what upload speed is essential. Plus, we’ll address how to optimize without upgrading hardware. These are the questions viewers type into Google daily.
Use these answers to boost your article’s authority and appear in “People Also Ask” boxes. Let’s dive in.
FAQ: Can I Stream and Game on One PC?
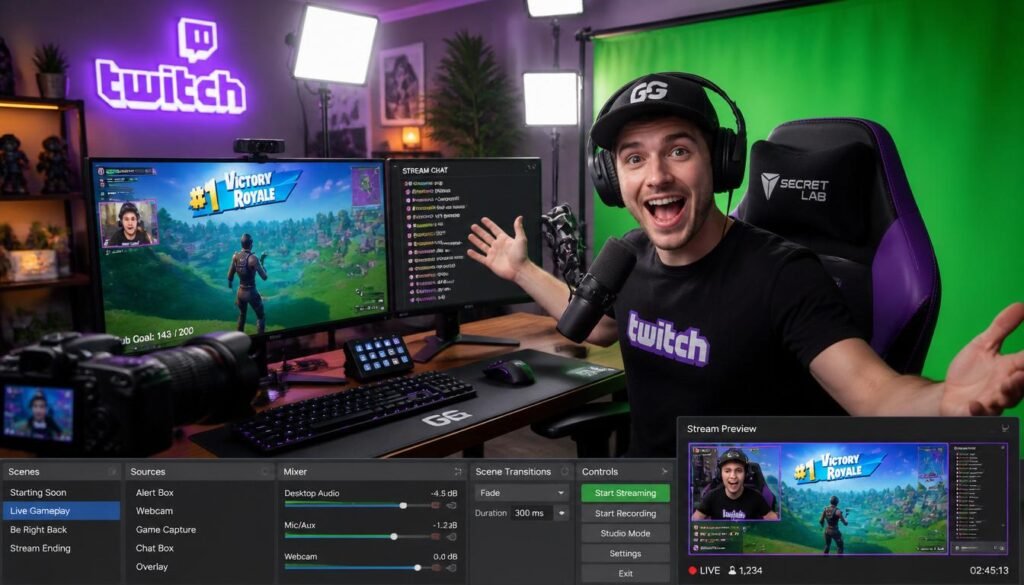
Absolutely. Most streamers start with a single-PC setup. The key is balancing your hardware and settings. Use hardware encoding (NVENC or AMF) to offload streaming work from your CPU.
Cap your framerates and adjust graphics settings to leave headroom for your encoder. With a modern 6-core CPU, 16GB of RAM, and a GPU with a dedicated encoder, you can stream and game smoothly. Follow this guide’s steps, and you’ll be live in no time.
FAQ: How Much RAM Do I Need for Gaming and Streaming?
16GB is the bare minimum for gaming and streaming. But 32GB is the sweet spot. Modern games and streaming software like OBS consume significant memory. With 16GB, you’ll manage, but background apps and browser tabs will push you to your limit.
32GB gives you comfortable headroom for your game, OBS, chat, music, and monitoring tools. It prevents stuttering and slowdowns during intense sessions. Upgrade if you can—it’s one of the most affordable performance boosts available.
FAQ: How Do I Optimize My PC for Gaming Without Upgrading?
You don’t always need new hardware. Start with software tweaks—enable Game Mode, disable Game Bar, and update your drivers. Adjust in-game settings like lowering shadows and capping framerates. Use hardware encoding to offload streaming from your CPU.
Clean your PC physically to improve airflow and prevent thermal throttling. Close background apps and browser tabs. These free fixes often deliver massive performance gains. Try them before spending money on upgrades—you might be surprised.
FAQ: What Upload Speed Do I Need for Streaming?
For 1080p at 60fps, you need at least 6 Mbps upload speed. For 1080p at 30fps, 4.5 Mbps works. For 720p at 30fps, 2.5 Mbps is sufficient. Always test your actual speed—not your advertised plan. Set your bitrate to no more than 70% of your upload speed to prevent buffering.
For example, 10 Mbps upload means a 7,000 Kbps bitrate. Faster speeds give you room for higher quality and stability.
FAQ: How Do I Fix OBS High CPU Usage?
High CPU usage in OBS usually means you’re using software encoding (x264). Switch to hardware encoding—NVENC for NVIDIA or AMF for AMD. This offloads encoding to your GPU. Also, lower your game graphics settings and cap your framerates to reduce CPU strain.
Close background apps and browser tabs. Run OBS as Administrator for priority access. These fixes instantly drop CPU usage and eliminate stuttering. Your stream stays smooth, and your system stays responsive.
FAQ: What Are the Best OBS Settings for Streaming?
Start with these proven settings: Output Mode to Advanced, Encoder to NVENC or AMF, Rate Control to CBR, and Bitrate based on your upload speed. Set Keyframe Interval to 2 seconds, Preset to Quality, and Tuning to High.
For Video, set Base and Output resolution to 1080p, Downscale Filter to Lanczos, and FPS to 60. These settings balance quality and performance for most streamers. Test and adjust as needed.
Conclusion
You now have everything you need to optimize your gaming PC for streaming. Start with hardware fundamentals, tweak your in-game settings, master your encoder, fix your network, and polish your audio. Apply these steps one by one.
Test after each change. Your stream will transform—smoother gameplay, crystal-clear visuals, and viewers who stay.
Remember, optimization is a journey, not a one-time fix. Keep monitoring, keep tweaking, and keep growing. Your best stream is just a few adjustments away. Now go live.